고정 헤더 영역
상세 컨텐츠
본문
728x90
반응형
Prerequisite
- WinAFL → 설치 과정 참고
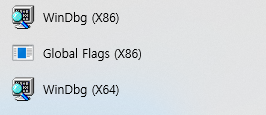
- Windbg
- Windows SDK에 windbg가 포함되어 있으므로, Windows SDK를 설치한다.
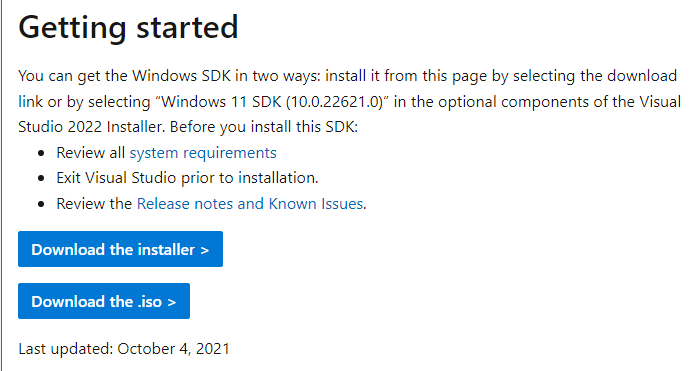
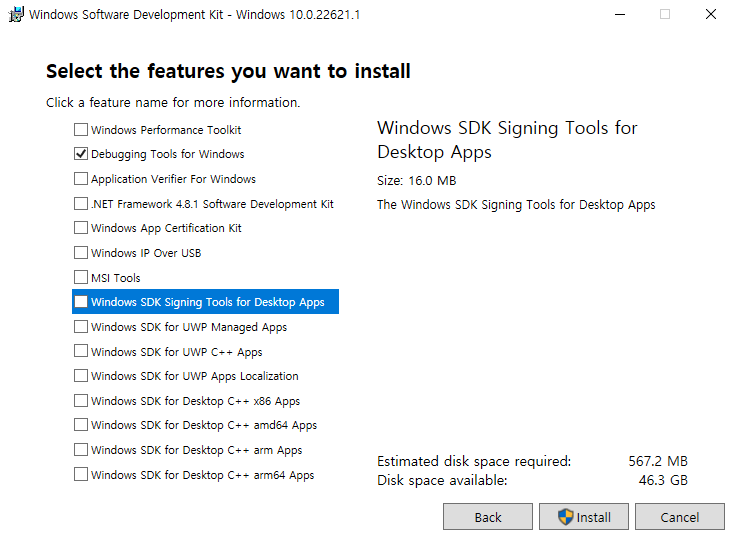
Debugging Tools for Windows 만 선택해서 설치
- IDA
- target 내 함수를 확인하고 offset 확인 위해 사용
target 선정
한글에는 security module인 HncAppShield가 있다. HncAppShield는 파일 내용을 파싱해서 사용자에게 문서 내용을 보여주기 전에 .hwp 파일을 스캔해서 파일 내 악성 페이로드가 있는지 확인한다.
이 module을 fuzzing target으로 잡았다.
target 설치
HncAppShield.dll 파일이 있는 프로그램을 설치하면 된다.
https://www.hancom.com/cs_center/csDownload.do

HncAppShield.dll이 파일 내용 보여주기 전 내용 확인하는 모듈이기 때문에 뷰어에도 있을 것이다. 따라서 한컴오피스 2022 뷰어를 설치했다.

target module은 C:\Program Files (x86)\Hnc\Office NEO\HOfficeViewer96\Bin 경로에 위치한다.
target 함수 조건
앞서 WinAFL 환경구축 및 사용법 글에서 적은 내용으로 리마인드하자면 다음의 조건이 있다.
이 조건을 충족하는 target 내 함수가 있는지 분석하여 선정해야 한다.
1. 함수 내에서 input 파일을 열어야 함

2. input 파일 파싱할 수 있어야 함

3. 함수 내에서 input 파일 닫아야 함

4. 리턴까지 정상 실행되어야 함
target 함수 선정
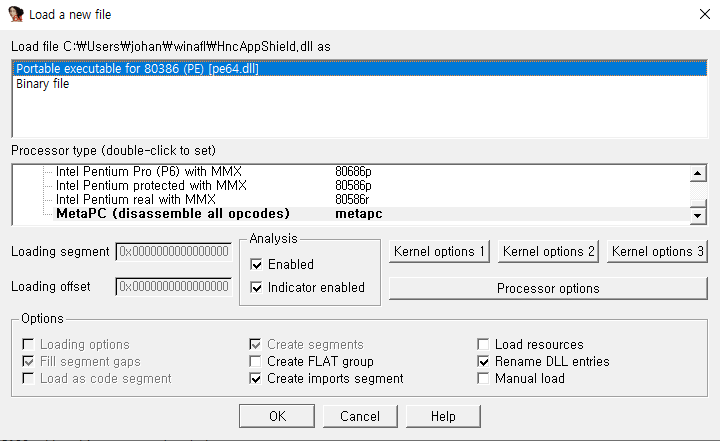
IDA로 HncAppShield.dll 파일을 연다. permission denied 오류가 발생하면, HncAppShield.dll 파일을 바탕화면 등에 복사해서 해당 경로에서 IDA로 파일을 연다. winafl 경로에 HncAppShield.dll 파일을 복사한 후 열었다.
(또는 IDA를 관리자 권한으로 실행한 후 원본 dll 파일을 연다.)

exports 테이블을 확인해보자.

인자로 file path를 받는 AppShield_InpectMalware() 함수를 WinAFL로 fuzz할 함수로 선택했다. file path만 인자로 받기 때문에 인자가 적어 harness 작성이 쉽다.
harness 작성
HncAppShield는 DLL이므로, DLL을 로드하고 input과 함께 함수를 호출할 수 있는 harness (loader)를 작성해야 한다. harness는 WinAFL에서 afl-fuzz.exe로 fuzzing 시 주면 된다.
harness 프로그램 내용
- main의 인자(argv)로 filename을 받는다.
- HncAppShield.dll 로드 (LoadLibrary)
- GetProcAddress() 호출해서 타겟 함수 주소 가져온다.
- → 타겟 함수의 심볼이 죽어 있으면 GetProcAddress() 함수로 함수 주소를 가져올 수 없다. 이때는 target dll의 base 주소 + 타겟 함수 offset으로 타겟 함수 주소를 구한다.
- fuzz_hwp() 함수에서 타겟 함수 호출
harness 코드
#include <stdio.h>
#include <Windows.h>
#include <iostream>

extern "C" __declspec(dllexport) __declspec(noinline) int fuzz_hwp(wchar_t* hwp);

typedef int(*INSPECT)(wchar_t* filename);
INSPECT AppShield_InspectMalware;

wchar_t* charToWChar(const char* text)
{
    size_t size = strlen(text) + 1;
    wchar_t* wa = (wchar_t*)malloc(sizeof(wchar_t) * size);
    mbstowcs(wa, text, size);
    return wa;
}

int fuzz_hwp(wchar_t* filename)
{
    AppShield_InspectMalware(filename);
    return 0;
}

int main(int argc, char** argv)
{
    HINSTANCE HncAppShield = LoadLibrary("C:\\Program Files (x86)\\Hnc\\Office NEO\\HOfficeViewer96\\Bin\\HncAppShield.dll");
    int isDetected = 0;
    if (HncAppShield == NULL) {
        fprintf(stderr, "Error: Unable to open target dll\n");
        return -1;
    }
    AppShield_InspectMalware = (INSPECT)GetProcAddress(HncAppShield, (LPCSTR)1);

    //printf("function ptr: 0x%x\n", AppShield_InspectMalware);

    isDetected = fuzz_hwp(charToWChar(argv[1]));
    printf("[Malware result] %d\n", isDetected);

    return isDetected;
}- HINSTANCE: module에 대한 핸들
- LoadLibrary: 인자로 준 DLL을 현재 프로세스 주소 공간에 mapping 시켜서 사용
- GetProcAddress: DLL의 함수 주소를 가져온다. 함수 포인터가 반환되고, 반환된 함수 포인터로 DLL 함수를 호출한다. 매개변수로 DLL 모듈 핸들(LoadLibrary에서 반환된), 호출할 함수 이름, 함수 내보내기 서수를 사용한다.
- charToWChar: mbstowcs() 함수 사용해서 멀티바이트 스트링을 wide 문자 스트링으로 변환
harness 컴파일
cmake_minimum_required(VERSION 3.0)

get_filename_component(ProjectId ${CMAKE_CURRENT_SOURCE_DIR} NAME)
string(REPLACE " " "_" ProjectId ${ProjectId})
project(${ProjectId})

set(CMAKE_RUNTIME_OUTPUT_DIRECTORY ${CMAKE_BINARY_DIR}/bin)

file(GLOB SOURCES *.cpp)

add_executable(${PROJECT_NAME} ${SOURCES})
CMakeLists.txt 파일이다. cmake를 사용해서 32bit로 컴파일한다.
x64_x86 cross tools command prompt for vs 2022에서 컴파일 진행
cd targettest
mkdir build
cd build
cmake -G"Visual Studio 17 2022" -A Win32 ..
cmake --build . --config Release
32bit executable로 컴파일하기 때문에 Win32을 주고, 그 뒤에는 source 상대 경로를 준다. build 상위 경로에 있으므로 ..으로 줬다.
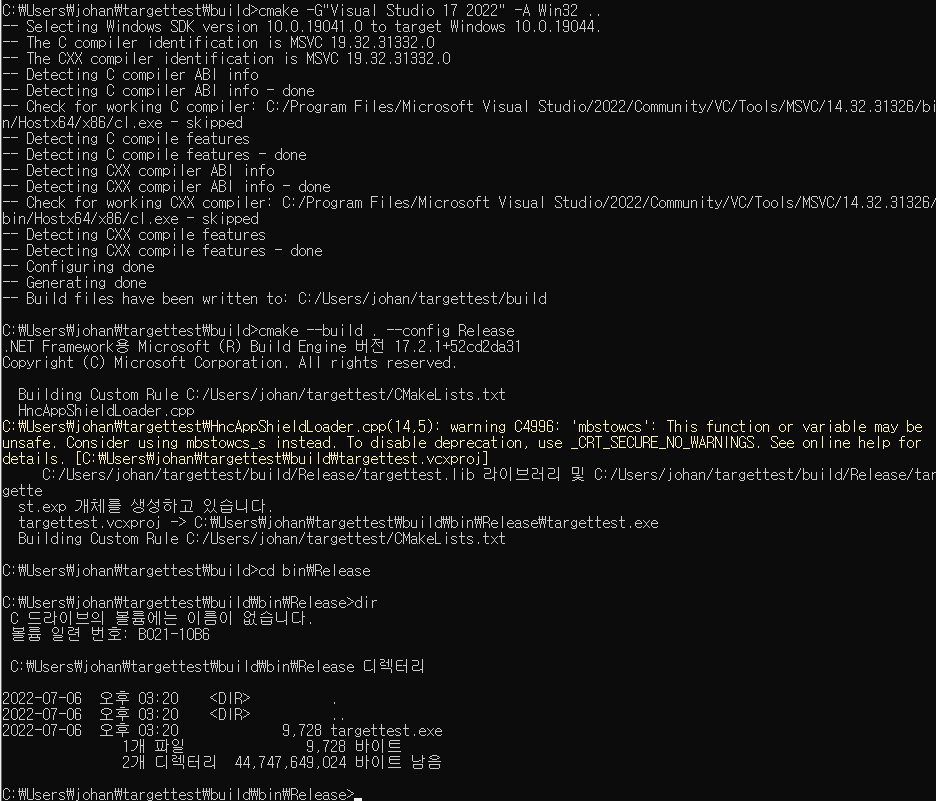
컴파일 결과 build\bin\Release 경로에 harness 실행 파일이 생성된다.
Test harness
cd %DynamoRIO경로%\\bin32
drrun.exe -c "%winafl경로%\\build32\\bin\\Release\\winafl.dll" -debug -target_module harness.exe -coverage_module "%타겟DLL경로%" -target_method fuzzme -fuzz_iterations 10 -nargs 1 -- "%harness경로%" "%파일경로%"
drrun.exe -c는 configure-and-run 명령어로 harness가 퍼징에 적합한지 검사한다.
cd C:\Users\johan\DynamoRIO-Windows-9.0.19174\DynamoRIO-Windows-9.0.19174\bin32
drrun.exe -c "C:\Users\johan\winafl\build32\bin\Release\winafl.dll" -debug -target_module targettest.exe -coverage_module "C:\Program Files (x86)\Hnc\Office NEO\HOfficeViewer96\Bin\HncAppShield.dll" -target_method fuzz_hwp -fuzz_iterations 10 -nargs 1 -- "C:\Users\johan\targettest\build\bin\Release\targettest.exe" "C:\Users\johan\targettest\input\test.txt"
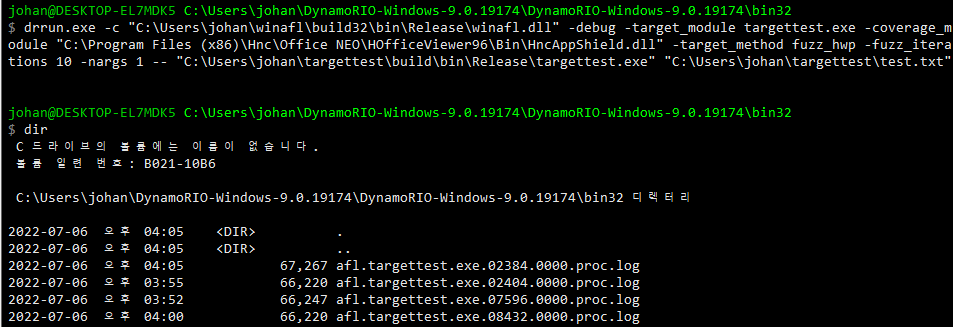
테스트 끝나면 DynamoRIO의 bin32 경로에 테스트 로그가 남으며, iterations 옵션을 10으로 줬으므로 10번의 실행 로그가 남고 “Everything appears to be running normally.” 로그가 남아있으면 harness를 퍼징에 사용할 수 있다.

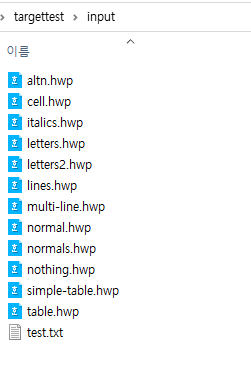
Seed corpus
https://github.com/Cisco-Talos/clamav-fuzz-corpus/tree/master/scantype/HWP3
위 github에 올라온 hwp seed corpus를 사용한다. (한컴오피스가 없기 때문,,😓)
Minimize corpus
- python3 설치
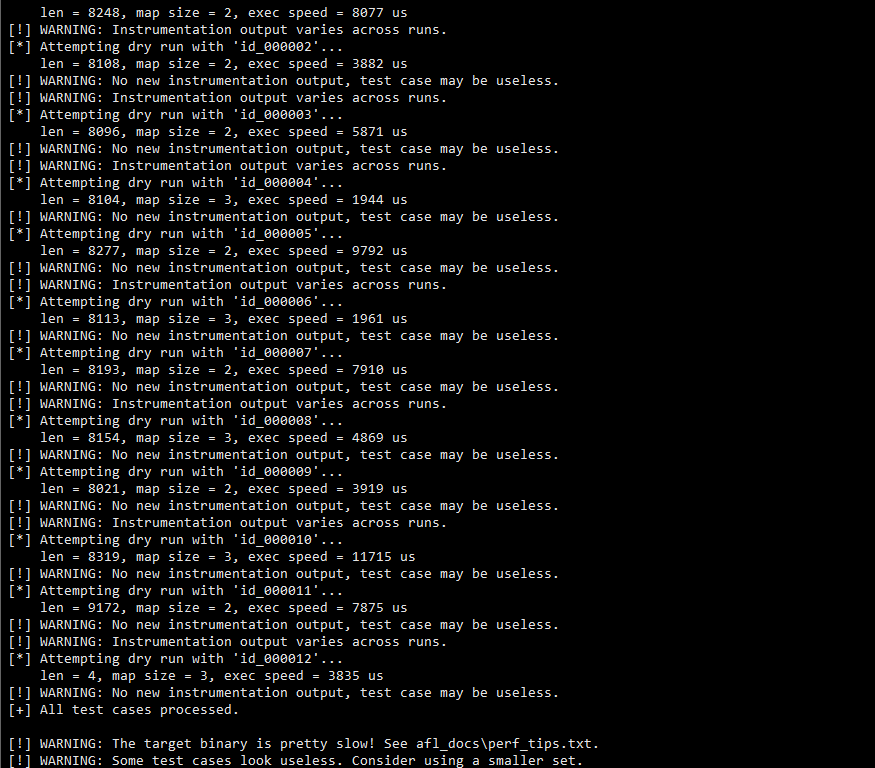
AFL 문서에는 큰 corpus가 있으면 afl-cmin을 사용해서 target 바이너리에서 다른 code path를 가는 파일들의 집합을 식별하도록 할 수 있다. 퍼저 실행 시 WARNING으로 tet caes가 useless 할 수 있어서 smaller set을 사용하라고 출력되는데, afl-cmin.py를 사용하면 seed corpus를 minimize할 수 있다.
사용법
winafl-cmin.py -D D:\\DRIO\\bin32 -t 100000 -i in -o minset -covtype edge -coverage_module m.dll -target_module test.exe -target_method fuzz -nargs 2 -- test.exe @@
winafl-cmin.py -D C:\\Users\\johan\\DynamoRIO-Windows-9.0.19174\\DynamoRIO-Windows-9.0.19174\\bin32 -t 100000 -i C:\\Users\\johan\\targettest\\input -o C:\\Users\\johan\\targettest\\mininput -covtype edge -coverage_module targettest.exe -target_module targettest.exe -target_method fuzz_hwp -nargs 1 -- C:\\Users\\johan\\targettest\\build\\bin\\Release\\targettest.exe @@
-i input 파일 directory
-o minimized corpus 저장할 directory
-t 실행 timeout (ms)
-D DynamoRIO directory
-covtype basic block만 추적하는 기본 coverage tracker
@@ WinAFL에서 생성하는 파일이름 대체
corpus minimization 결과


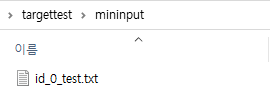
현재 seed corpus가 작지만, seed corpus 크기가 크면 corpus minimization 효과가 클수도 있을 것 같다.
Run fuzzer
cd C:\\Users\\johan\\winafl\\build32\\bin\\Release
afl-fuzz.exe -i C:\\Users\\johan\\targettest\\input -o C:\\Users\\johan\\targettest\\output -D C:\\Users\\johan\\DynamoRIO-Windows-9.0.19174\\DynamoRIO-Windows-9.0.19174\\bin32 -t 1000 -- -coverage_module targettest.exe -fuzz_iterations 1000 -target_module targettest.exe -target_method fuzz_hwp -nargs 1 -- C:\\Users\\johan\\targettest\\build\\bin\\Release\\targettest.exe @@
-i input
-o fuzzing 결과
@@ input 대체
첫 번째 -- 다음에는 instrumentation option을 준다.
두 번째 -- 이 다음으로 실행할 명령어 준다. harness에 input file을 인자로 준다.
-fuzz_iterations 1000 WinAFL이 fuzz_hwp 함수 1000번 실행 후 프로세스 재시작
-t 1000 timeout 1000ms (각 test case 실행 1000ms 후 time out)
-nargs 1 실행하는 파일의 인자 수 (여기에서는 harness 파일의 인자 수)
afl-fuzz 명령어 인수를 줄 때 -coverage_module , -target_module 모두 harness 파일명인 targettest.exe로 바꿔서 퍼저가 정상적으로 실행될 수 있었다. coverage module이 dll 파일명으로 주는걸 봐서 target dll로 주면 되는건줄 알았는데, harness에서 target dll을 로드해서 target function을 실행하므로 harness를 주면 됐다.

Fuzz 결과
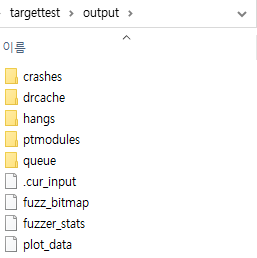
- crashes → fuzz 과정 crash 발생시킨 unique test case가 저장됨
- hangs → fuzz 과정 테스트 프로그램에 time out 발생시킨 unique test case가 저장됨
- queue → 특정 실행 경로를 탐색한 unique test case 저장됨
728x90
반응형
'ANALYSIS > Fuzzing' 카테고리의 다른 글
| [Fuzzing] WinAFL target function offset 자동으로 넣어주기 (0) | 2022.07.08 |
|---|---|
| [Fuzzing] WinAFL 환경구축 및 사용법 (0) | 2022.07.08 |
| [Fuzzing] AFL fuzzing dact (0) | 2022.06.28 |
| [Fuzzing] AFL++ 설치 (0) | 2022.06.28 |
| [Fuzzing] AFL 설치 (0) | 2022.06.28 |


